Join the movement to end censorship by Big Tech. StopBitBurning.com needs donations and support.
5 Common indoor seed starting mistakes and how to avoid them for a healthy, productive garden
By roselidell // 2021-10-23
Mastodon
 Parler
 Gab
Gab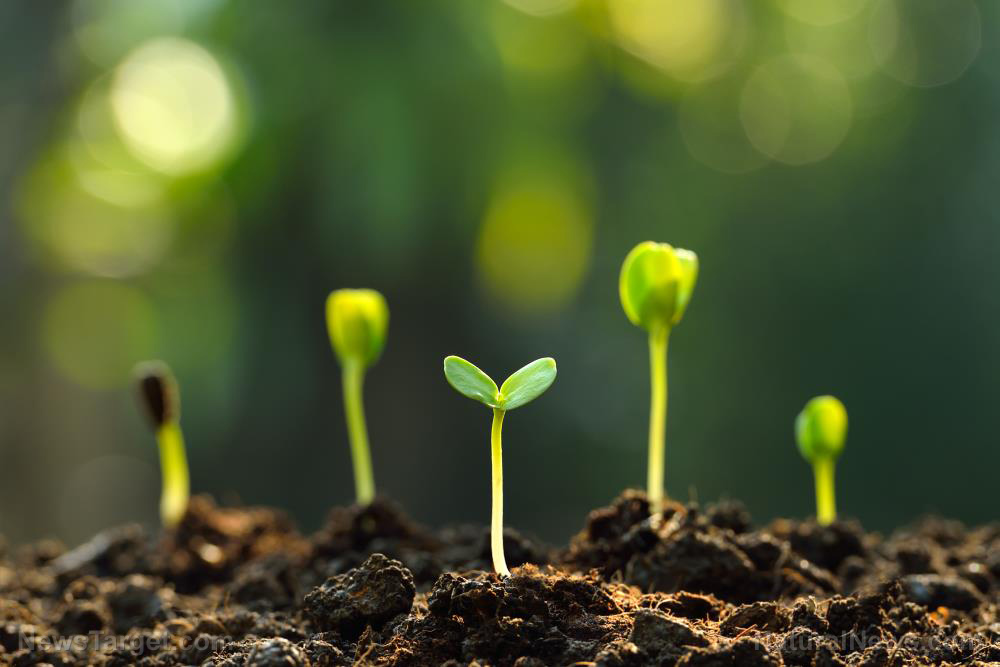
If you want to successfully grow healthy flowers and vegetables indoors, you need to learn how to start seeds properly.
Some gardeners have a hard time growing plants indoors from seed. If you're one of these gardeners, here are five seed starting mistakes that you should avoid so you don't waste your time and effort.
Mistakes to avoid when growing seeds indoors
Worried about growing seedlings indoors? Follow these tips for efficient seed starting. Starting seeds too early (or too late) Starting seeds indoors at the wrong time is one of the most common mistakes gardeners make when growing from seed. When you start seeds too early, you get overgrown seedlings before it’s time to transplant outdoors. On the other hand, starting seeds too late means you get plants that won't bloom or fruit by the end of the season. To correct this mistake, know your specific area's average last frost date. Once you confirm the date, count backwards the number of weeks required for seeds to be ready for transplant. This is the right day to start planting. Not using enough soil Seeds need quality soil to grow and they must have enough soil to grow well. Don't skimp on your supplies by using poor seed-starting soil in your seed trays because you're going to get stuck with stunted seeds. It's better to use lightweight, nutrient-filled soil that drains well so your seeds can germinate and grow well. Seed trays are a seed’s home for its first six to eight weeks of life so the soil should be of good quality to promote strong root growth. Don't use plain garden soil or top soil to start seedlings. Look for a high-quality seed-starting mix with slow-release nutrients. Alternatively, you can make your own potting soil. Just use this formula: One cup of potting soil, one cup of fine compost, one cup of worm castings and one cup of perlite. Not checking if you have old or stale seeds A garden requires your time and resources so don't waste your efforts by using seeds that might be stale or old. Old seeds germinate at lower rates and they have less strength and vitality as they grow. Save yourself some pain and don't keep or save seeds beyond one growing season. Avoid this mistake by using fresh, quality seeds. If you plan on saving seeds from your plants, keep them in a cool, dry room, like dark basement or the fridge. Starting seeds in a sunny window Plants need lots of sunlight to grow, but things are different when starting seeds. When you start vegetable or flower seedlings in a sunny windowsill, the young seedlings will grow quickly to the light of the sun but they become frail even if you constantly turn their seed trays. This is because the light from the sun through a window is far away, with the young seedlings spending too much energy growing towards it. In the end you're left with seedlings that are not filling out properly. To grow strong seeds, start them indoors with artificial light. You don't even need to break the bank for expensive equipment. You can make do with regular fluorescent bulbs. Just set the bulbs about one inch or two above seedlings for slow, steady growth. Not hardening plants off before planting them outdoors When starting seeds, the last mistake gardeners make when they're starting seeds indoors is not properly preparing the plants for outdoor life. Seeds started indoors aren't as tough as outdoor plants and if you just remove them from seed trays and plant directly into the soil, only a handful may survive. Hardening off prepares plants for outdoor growing conditions. Follow the guide below to harden off seedlings through gradual exposure to outdoor conditions:- Start the hardening off process seven to 14 days before the date you're going to plant the seedlings outdoors. In spring, most seedlings are usually planted outdoors after the last frost date. Meanwhile, cold-hardy plants can be planted outdoors about two to four weeks before the last frost date.
- Work on a warm day when temperatures are above 45 F. Place seedlings in an outdoor location protected from direct sunlight and wind for one hour on the first day.
- Move the seedlings indoors after one hour, then move them somewhere warm, such as a heated garage or basement.
- Increase the amount of outdoor exposure one hour each day until the seedlings are eventually used to increasing amounts of partial sunlight and wind. Gradually expose the plants to the outdoors. Don’t leave tender seedlings outdoors on windy days or when the temperature is below 45 F.
- After two or three days, choose a somewhat shaded location and place the seedlings in an area that receives morning sun. Over the next few days, gradually expose them to more direct sun. Rushing this process will leave you with very young seedlings that have scorched leaves. Each day, the seedlings will be able to tolerate longer periods of exposure to outdoor conditions.
- If temperatures remain warm both day and night, such as 50 F, the seedlings will be able to handle increasing amounts of sunlight. Leave them outdoors overnight. Water the plants so the soil doesn't dry out if temperatures suddenly turn warmer.
- After seven to 14 days of acclimating your plants to the outdoors, they'll be ready for transplanting into your garden or a container. Start transplanting on a cloudy day and water well after planting.
Mastodon
Parler
Gab
Copy
Tagged Under:
organic farming how to seeds homesteading green living sustainable living tips home gardening organics organic garden indoor gardening seed starting
You Might Also Like

The end of meat? Dutch “green” policies force dairy farmer to cull 95% of his herd
By Ethan Huff // Share

Food supply 101: How to grow edible mushrooms in your home garden
By Zoey Sky // Share

Polyphenols in acai found to have a prebiotic effect that boosts digestive health
By Zoey Sky // Share
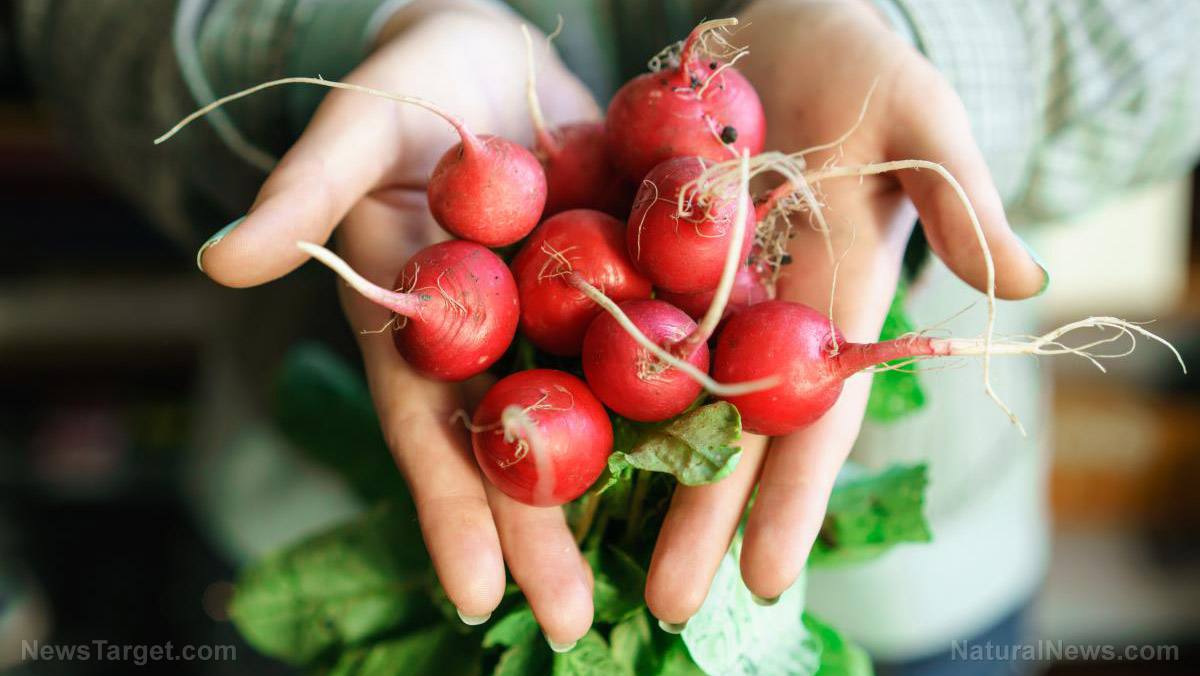
Home gardening tips: How to grow and harvest radishes
By Zoey Sky // Share

Curcumin found to stop cancer cell growth
By Zoey Sky // Share

Recent News
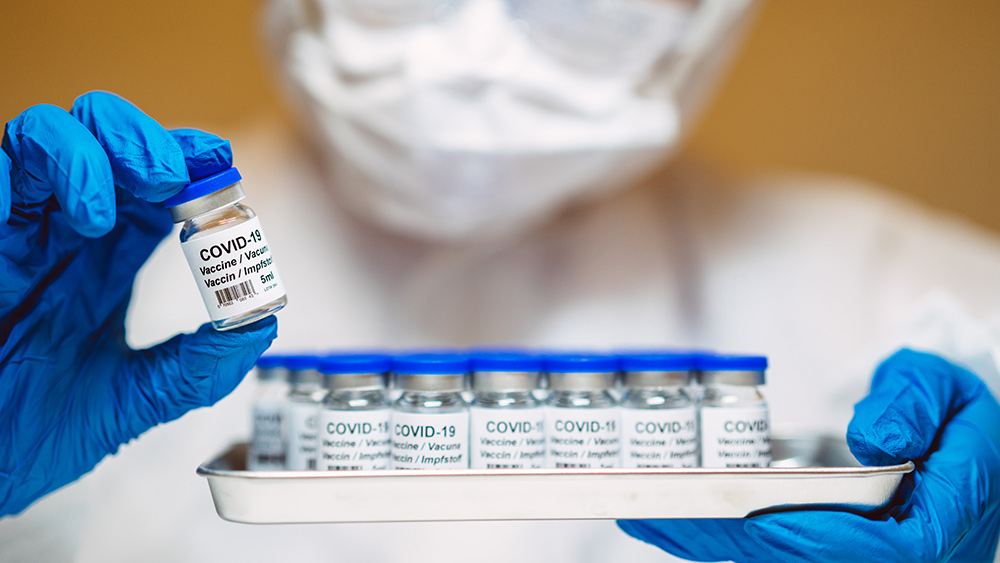
Governments continue to obscure COVID-19 vaccine data amid rising concerns over excess deaths
By patricklewis // Share

Tech giant Microsoft backs EXTINCTION with its support of carbon capture programs
By ramontomeydw // Share

Germany to resume arms exports to Israel despite repeated ceasefire violations
By isabelle // Share


Popular This Week